3.0 Accessing the Centroid
3.0.1 Accessing the Centroid - Setup Wizard Page
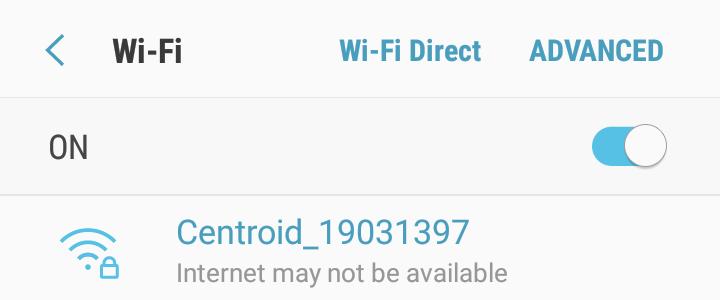
STEP 1 - Connect Centroid SSID via Wi-Fi and login with password: Please get from FFC support personnel..
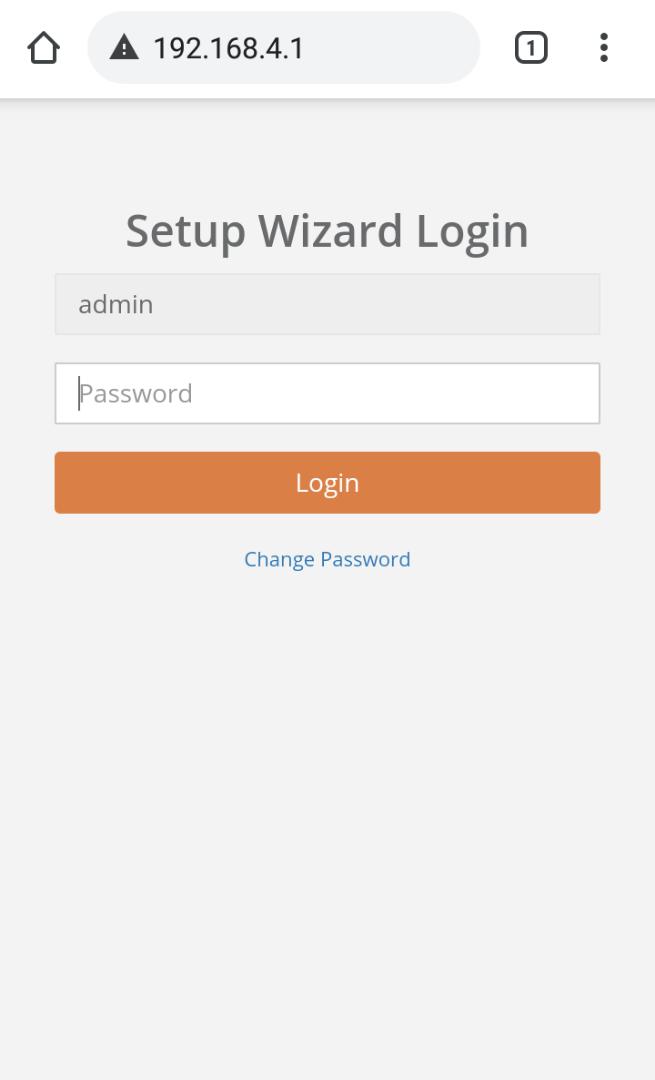
STEP 2 - Access to any web browser (Google Chrome, Mozilla Firefox) and enter URL: http://192.168.4.1.
STEP 3 - Login with password: Please get from FFC support personnel..
3.0.2 Reset Password - Setup Wizard Page
STEP 1 - Connect Centroid SSID via Wi-Fi and login with password: Please get from FFC support personnel..
STEP 2 - Access to web browser (Safari, Google Chrome) and enter URL: http://192.168.4.1.
STEP 3 - Click on Change Password and enter your preferred password.
STEP 4 - Complete the process and click on Save.
3.1 Basic Centroid Details
3.1.1 Centroid Info
STEP 1 - Access to Setup Wizard page. See 3.0.1 Accessing the device.
STEP 2 - Fill in the centroid name.
|
Item |
Description |
|
1. Centroid Name |
Enter the name of Centroid location. |
3.1.2 Time Zone Setting
STEP 1 - Access to Device. See 3.0.1 Accessing the device.
STEP 2 - Click on Settings tab.
STEP 3 - Navigate to section Time Zone Setting.
STEP 4 - Complete the process by entering all the required fields and click on Save.
|
Item |
Description |
|
1. Auto Time Zone |
Time zone will be configure same with FootfallCam Analytic Manager server time. |
|
2. Manual Time Zone |
Select the time zone. (Info: Time zone selected will be apply to report feature.) |
3.2 Centroid Network Setting
3.2.1 Updating corporate network
When users want to change their IP settings on their corporate network, the IP details inputted on the FootfallCam Centroid must be updated as well. If the IP details is not updated on the FootfallCam Centroid prior to the change of the corporate IP network settings, the Centroid will not be able to upload visitor counting data to the FootfallCam Analytic Manager.
-
Access to the device. See 3.0.1 Accessing the Centroid.
-
Update the IP setting
Once the user has access into the FootfallCam Centroid, the user will need to overwrite the existing IP detail with their new setting.

-
The user will need to navigate to the Settings tab on the bottom of the page.
-
Select the option Static IP.
-
Once the user has inputted the new IP settings, click Save to update the settings.
-
Reboot the Centroid.
-
When the new IP setting is applied, the FootfallCam Centroid will appear as offline due to unmatched IP setting between the device and the corporate network.
-
-
Update internal network settings
Once the FootfallCam Centroid has been configured for the new IP setting, the FootfallCam will appear as offline and will be unavailable for remote access. The user can then configure their corporate IP settings to match the settings inputted into the FootfallCam Centroid.
3.2.2 Redirecting the server address
When users would like to use a new server for data access from the FootfallCam, the FootfallCam Centroid manager must be logged in onsite to update the new server address. Once the server address is updated, the device must be re-allocated on the new server prior to data display.
-
Access to the device. See 3.0.1 Accessing the Centroid.
-
Update the server address - Once the user has access into the FootfallCam Centroid, the user will need to overwrite the existing server address with the new detail.

-
The user will need to navigate to the Settings tab on the bottom of the page.
-
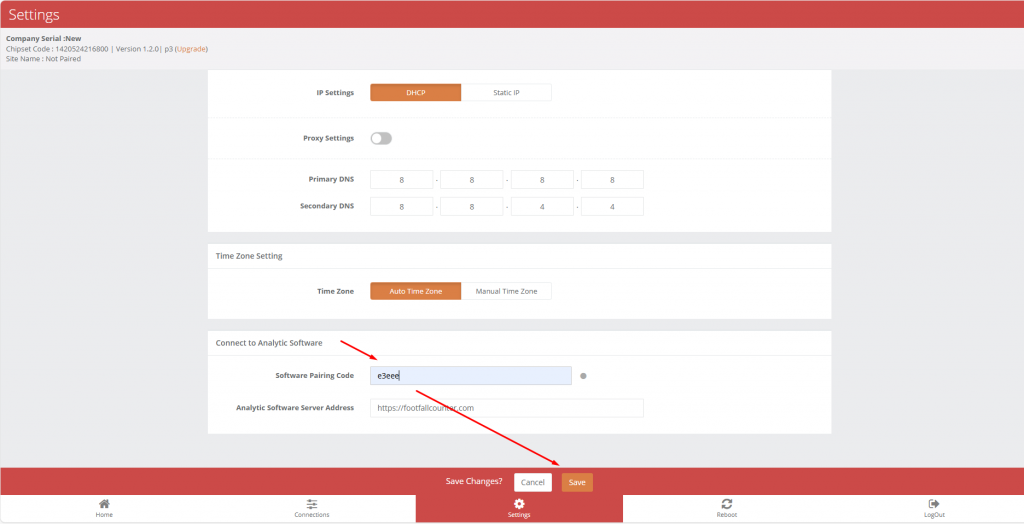
Under the option Connect to Analytic Software, enter the desired address of the new server where data will be streamed to. To use FootfallCam cloud server, please enter www.footfallcounter.com.
-
Once the server address is updated, Reboot the Centroid.
-
3.2.3 APN Configuration
(Only applicable to Centroid Outdoor)
If the Centroid Outdoor cannot connect to the internet after inserting the SIM card, kindly configure the APN settings according to your SIM card provider.
-
Access the Centroid setup wizard page.
-
Navigate to
<CentroidIP>/ApnSetting.html, for example,192.168.4.1/ApnSetting.html. -
Enter the APN name and click the "UpdateApnName" button. For example, the APN name for Vodafone Ireland is
live.vodafone.com. You can search for the APN name for your SIM card online, such as on APN.how. -
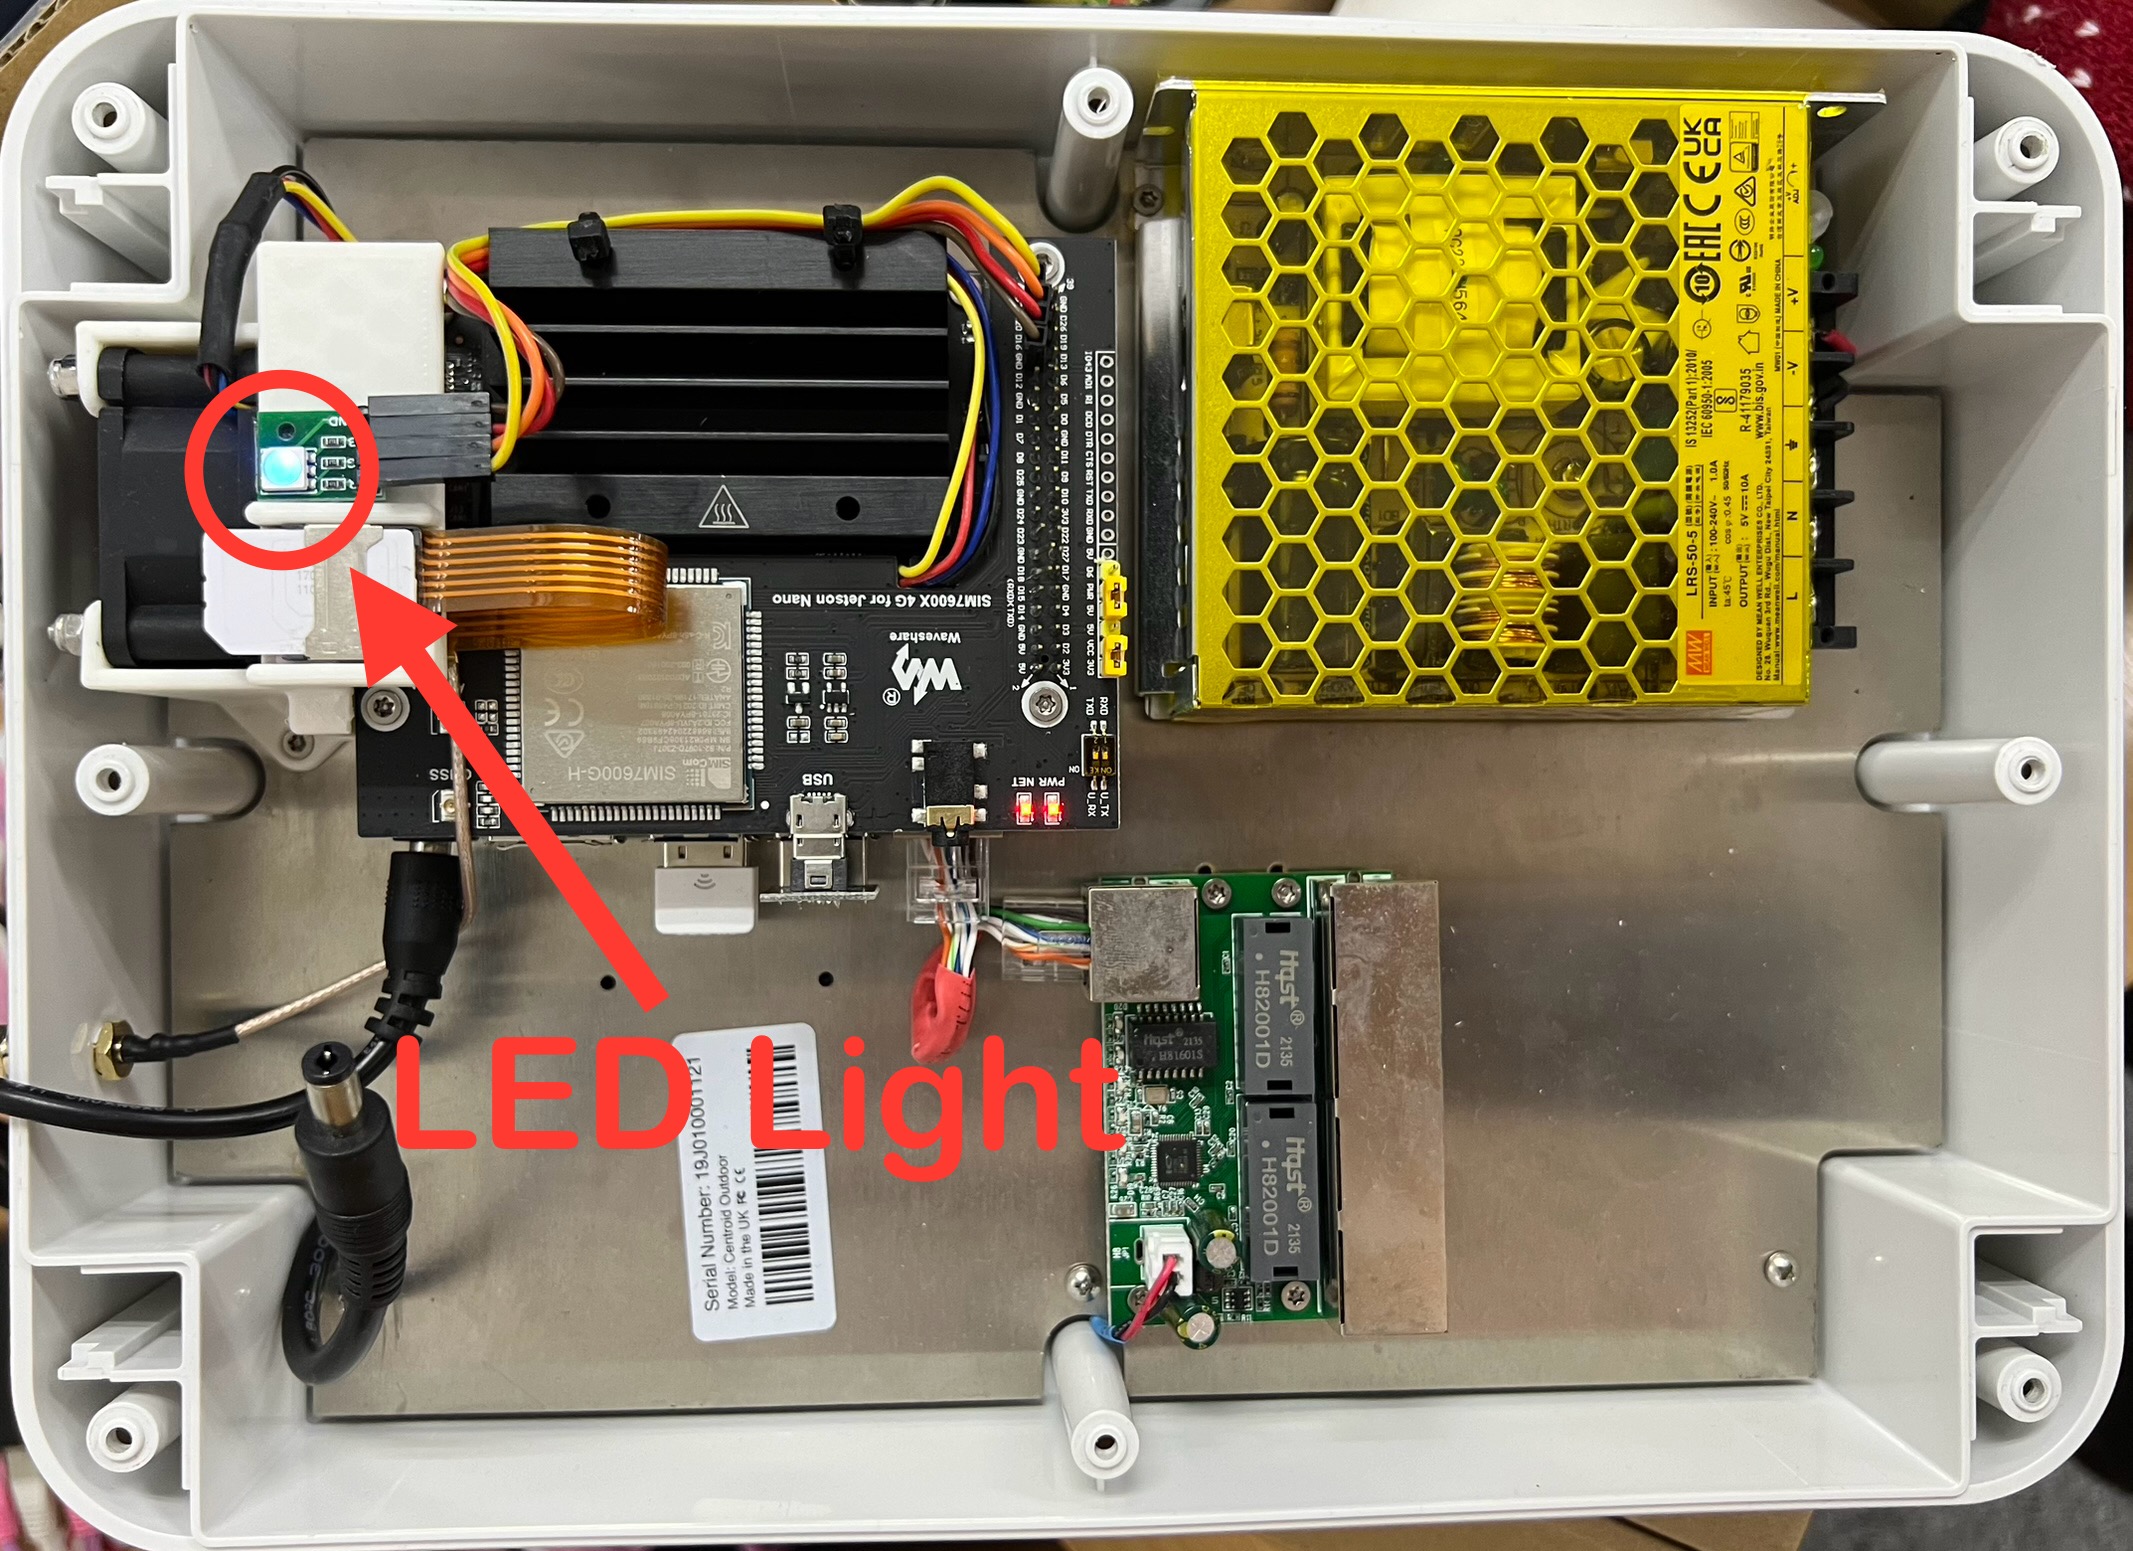
Wait for a few minutes while the service restarts. Once restarted, the Centroid Outdoor should be able to connect to the internet. This can be verified by checking the indicator light next to the SIM card holder. Blue light indicates a successful internet connection.
3.3 Software Pairing Code
3.3.1 Get Pairing Code
To get the pairing code, please login to v9.footfallcam.com
After login, go to Settings -> Site -> Edit and you will see the pairing code


3.3.2 Insert Pairing Code
Insert the Pairing Code and Click "Save"
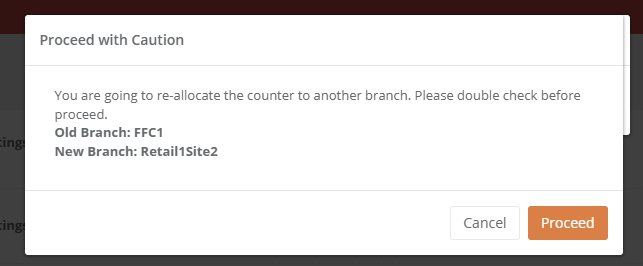
Click "Proceed" and wait for around 2 hour/s for the Counter to be allocate

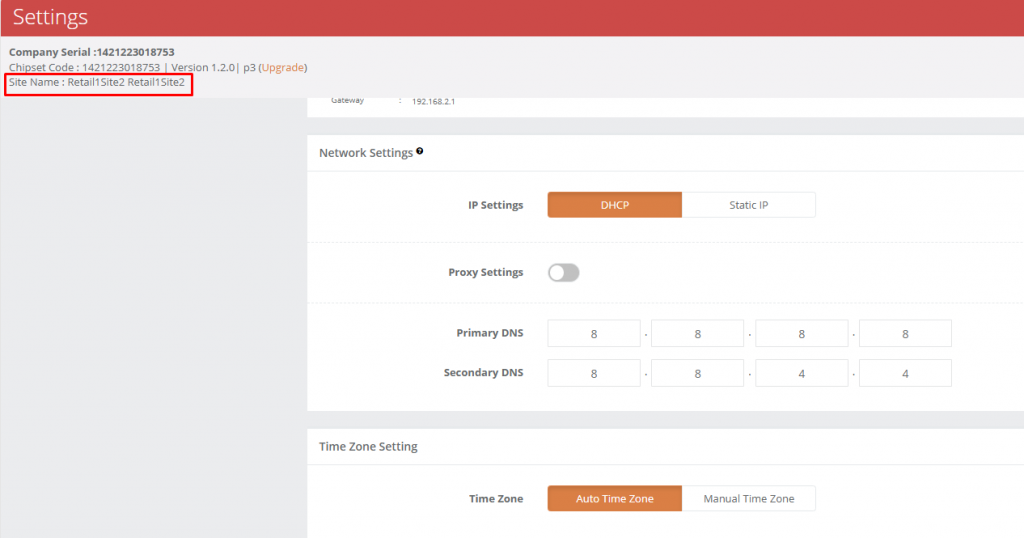
3.3.3 Check Pairing Status
To know if Counter is allocated, check the following:
-Site Name
-Pairing Code Status

3.4 CCTV Bindings
3.4.1 Add CCTV Bindings
STEP 1 - Access to Setup Wizard page. See 3.0.1 Accessing the Centroid.
STEP 2 - Click on Connections tab.
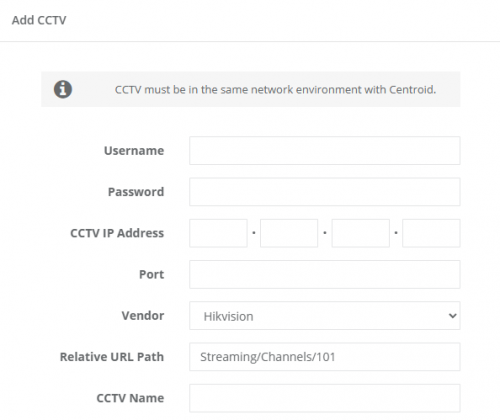
STEP 3 - Click on Add in CCTV Bindings tab.
|
Item |
Description |
|
1. Username |
CCTV username |
|
2. Password |
CCTV password |
|
3. CCTV IP Address |
CCTV IP address |
|
4. Port |
rtsp port number |
|
5. Vendor |
Select the Vendor using or other if the Vendor not on list |
|
6. Relative URL Path |
|
|
7. CCTV Name |
Put any CCTV name |
Refer to the following diagram for the breakdown of each field in a full RTSP URL.
STEP 4 - Click on Add to apply the changes. If there is error, please see Troubleshooting. When CCTV is added successfully, you should see "active" status like below.
STEP 5 - Click Confirm Binding to save the changes
3.4.2 CCTV Default Relative URL
|
Vendor |
Default Relative URL |
|
Arecont |
h264.sdp |
|
Avigilon |
No default, generated on-demand in the camera configuration page. |
|
Axis |
axis-media/media.amp |
|
Dahua |
cam/realmonitor?channel=1&subtype=0 |
|
Hikvision |
Streaming/Channels/101 |
|
Panasonic |
MediaInput/h264 |
|
Pelco |
stream1 |
|
Samsung |
profile1/media.smp LiveChannel/0/media.smp |
|
Sony |
media/video1 |
|
Uniview |
unicast/c1/s0/live |
|
Vivotek |
live.sdp |
3.4.3 CCTV Troubleshooting
-
IP or port or relative path is wrong.
Please provide the correct IP address, rtsp port number and relative path. If rtsp port is not provided, it will be assumed as default port 554. -
Username or password is wrong.
Please provide the correct username and password. They are case-sensitive and can include special characters as well. -
RTSP is not valid.
Please verify that rtsp url is complete, especially the relative path. Check that the rtsp stream can run in video player like VLC Player. -
RTSP is not readable.
RTSP url is valid, but there is no data streaming in the url. Check that the rtsp stream can run in video player like VLC Player. -
Unknown error code.
Please contact technical support from FootfallCam.
3.5 Centroid Specification
3.5.1 Situations to prevent
|
Avoid |
Description |
|
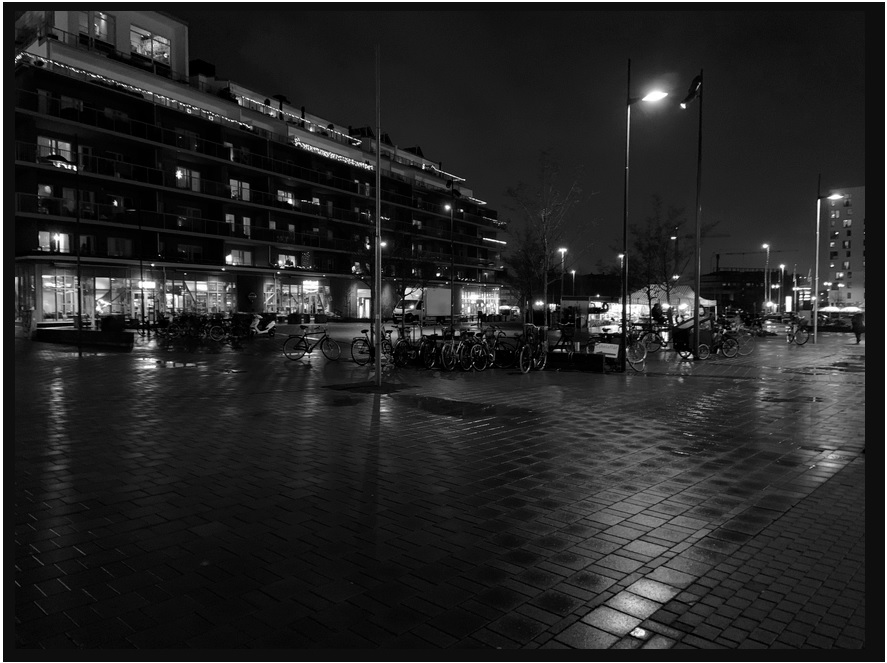
Black and White Videos |
 |
|
Interest Zone Too Far |
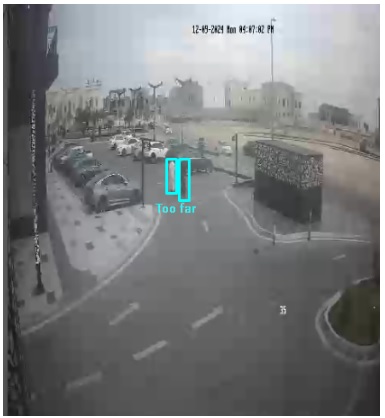 |
|
Interest Zone Too Near and Low Ceiling Height |
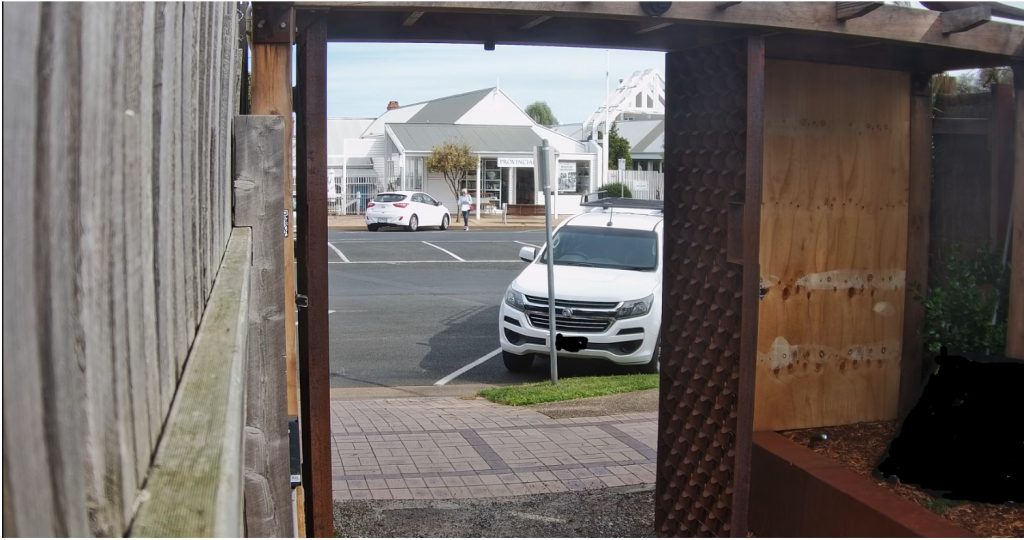 |
|
Foggy Environment |
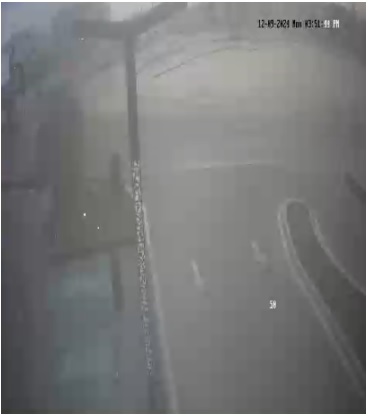 |
3.6 Centroid Support Guideline
3.6.1 Centroid Indoor
|
|
Symptoms |
Suspected Root Cause |
Subsequent Steps |
|
0 |
Tools preparation |
Tools required to be prepared for installation support
Software required to be installed in laptop for installation support
|
|
|
1 |
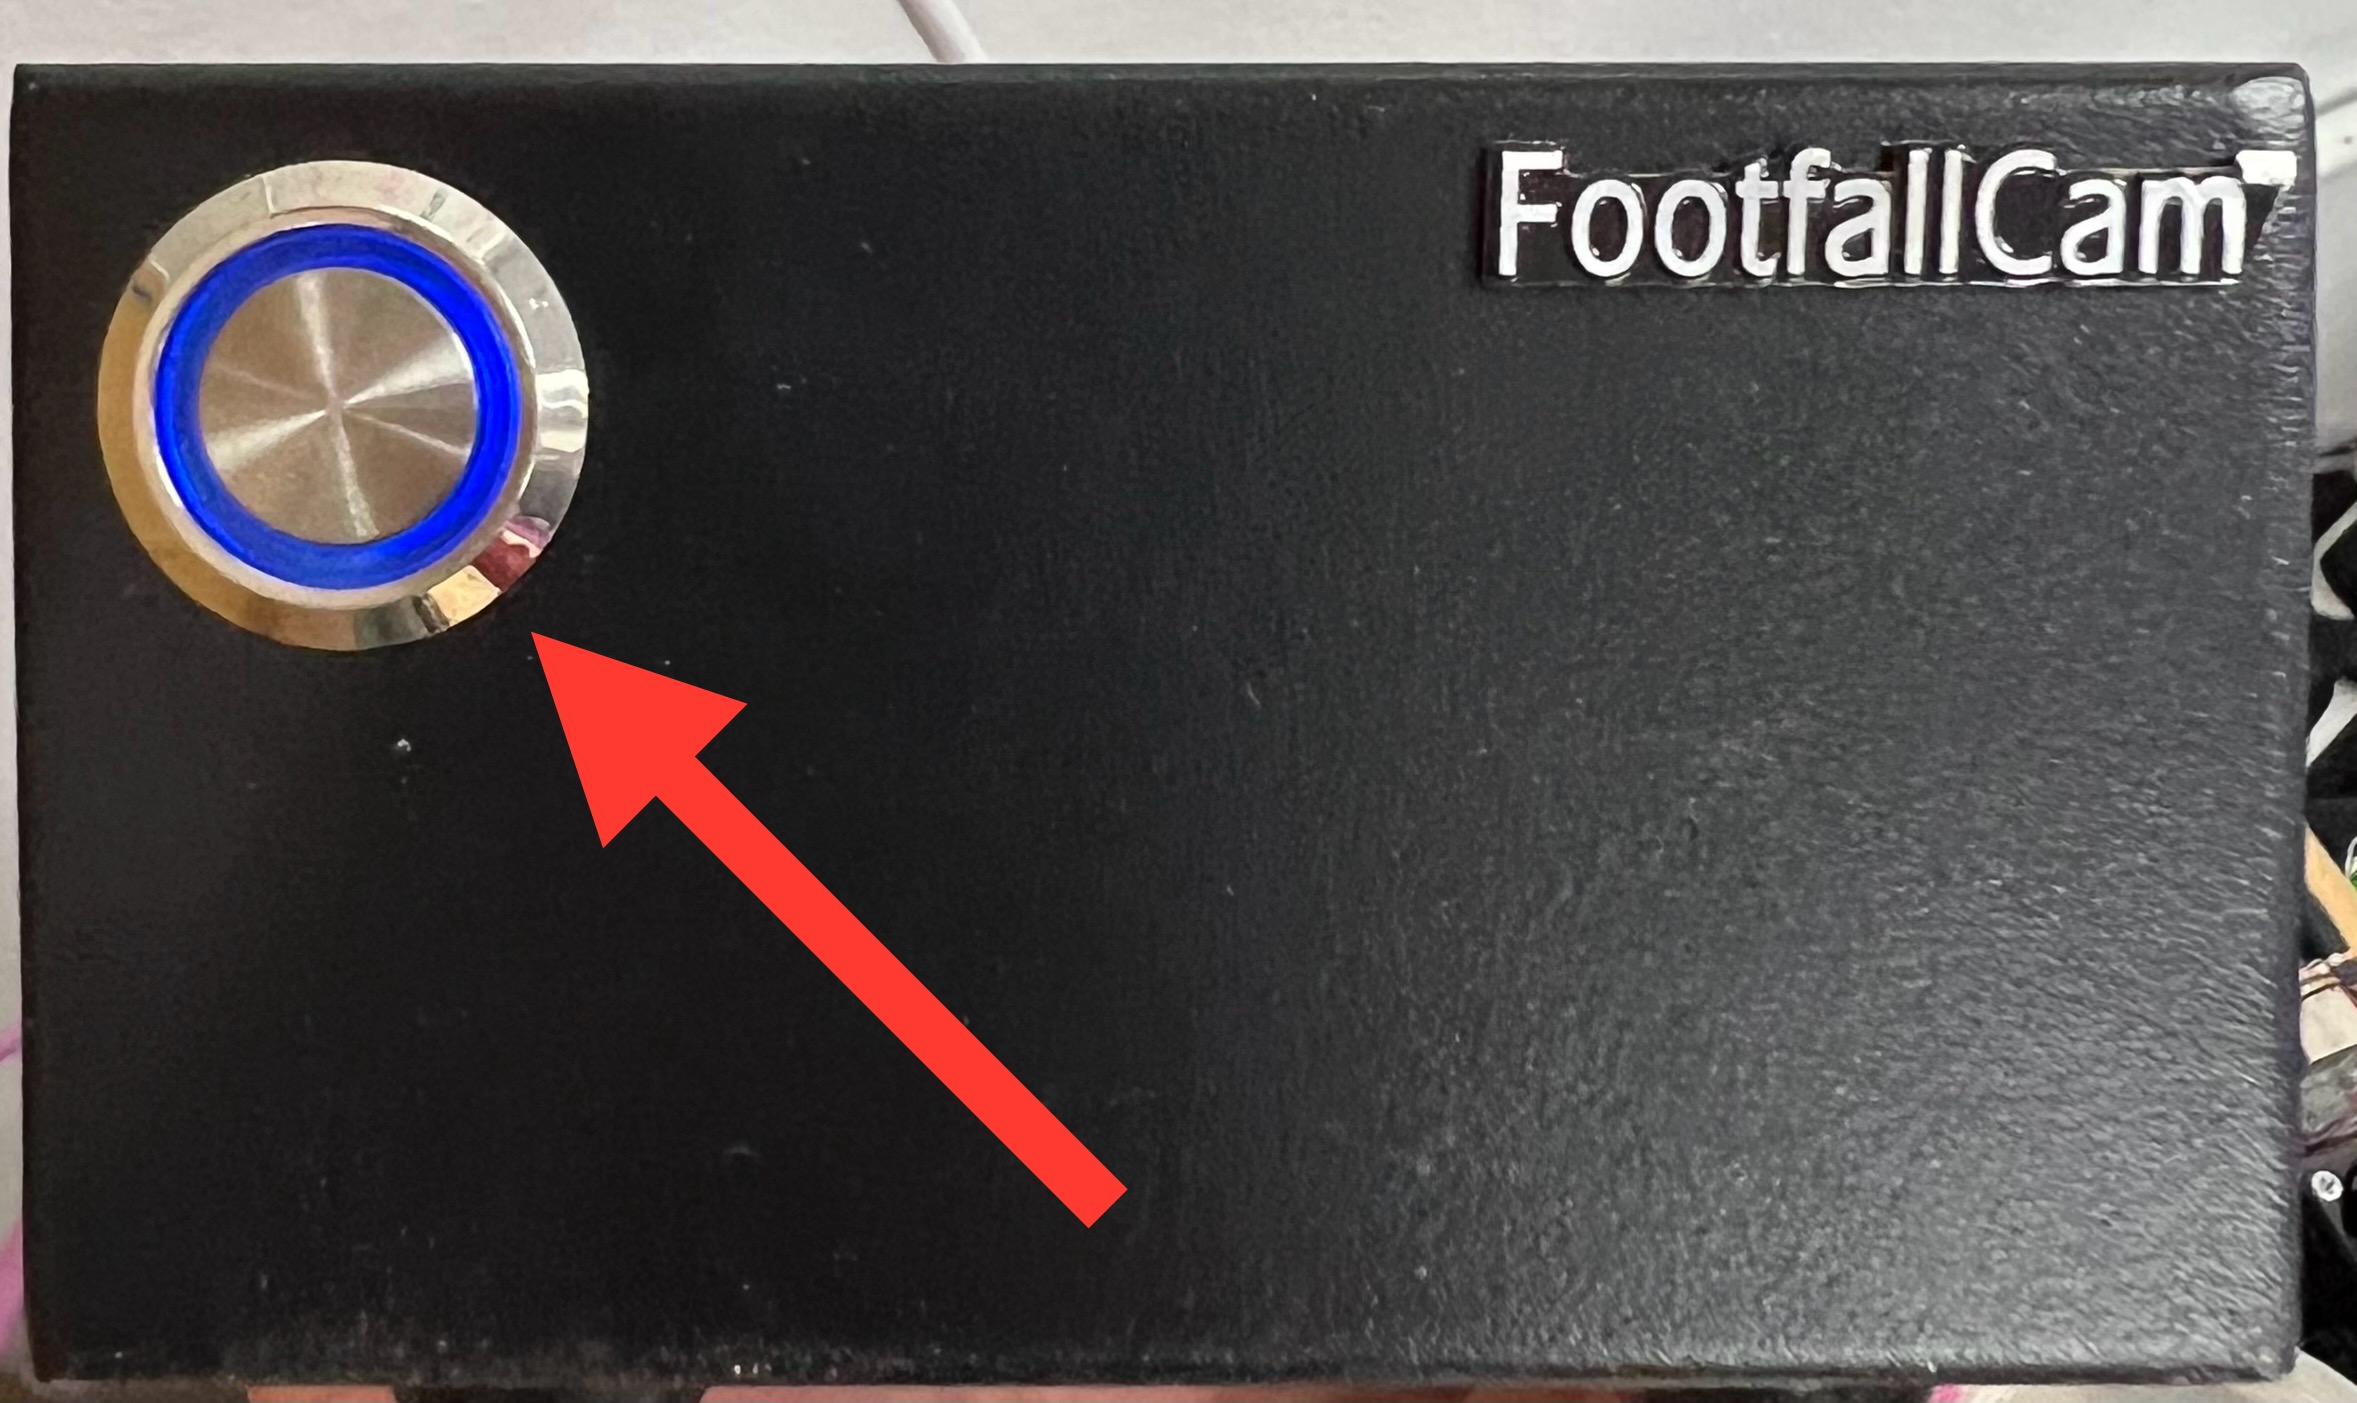
Centroid is not powered up (no blue light on the button) |
|
|
|
2 |
Wi-Fi is not working, not able to find centroid Wi-Fi |
|
|
|
3 |
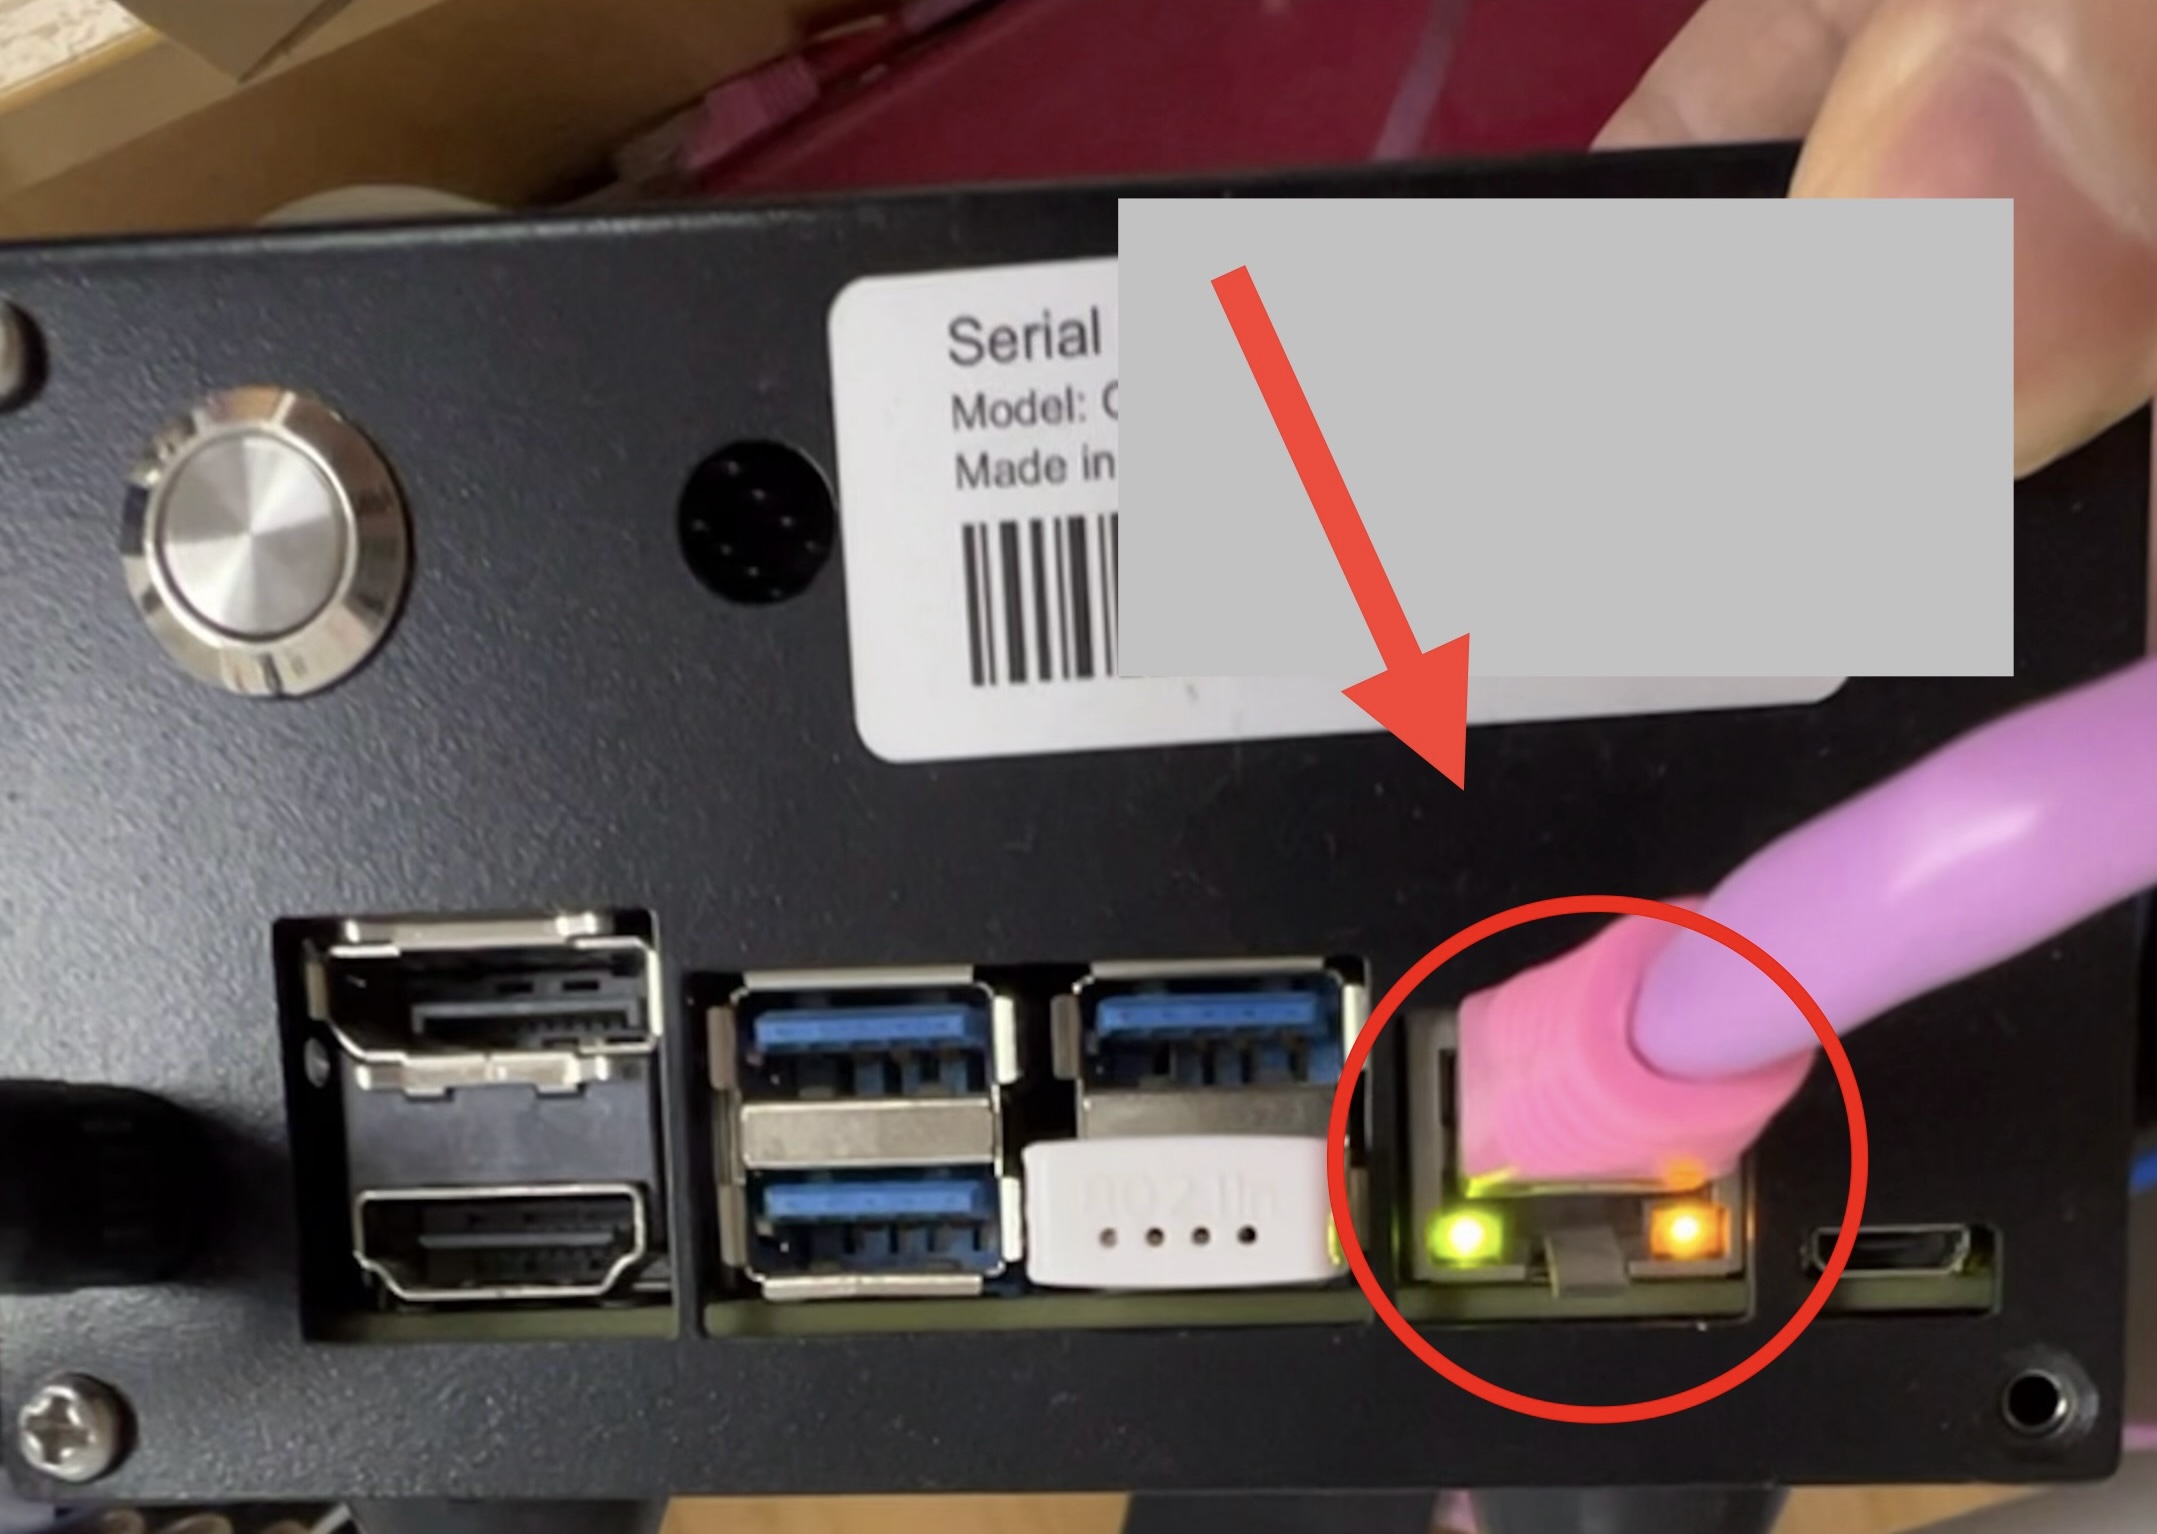
Centroid does not have Ethernet light (yellow and orange) |
|
|
|
4 |
Centroid is unable to be assigned an IP address |
|
|
3.6.2 Centroid Outdoor
|
|
Symptoms |
Suspected Root Cause |
Subsequent Steps |
|
0 |
Tools preparation |
Tools required to be prepared for installation support:
Software required to be installed in laptop for installation support:
|
|
|
|
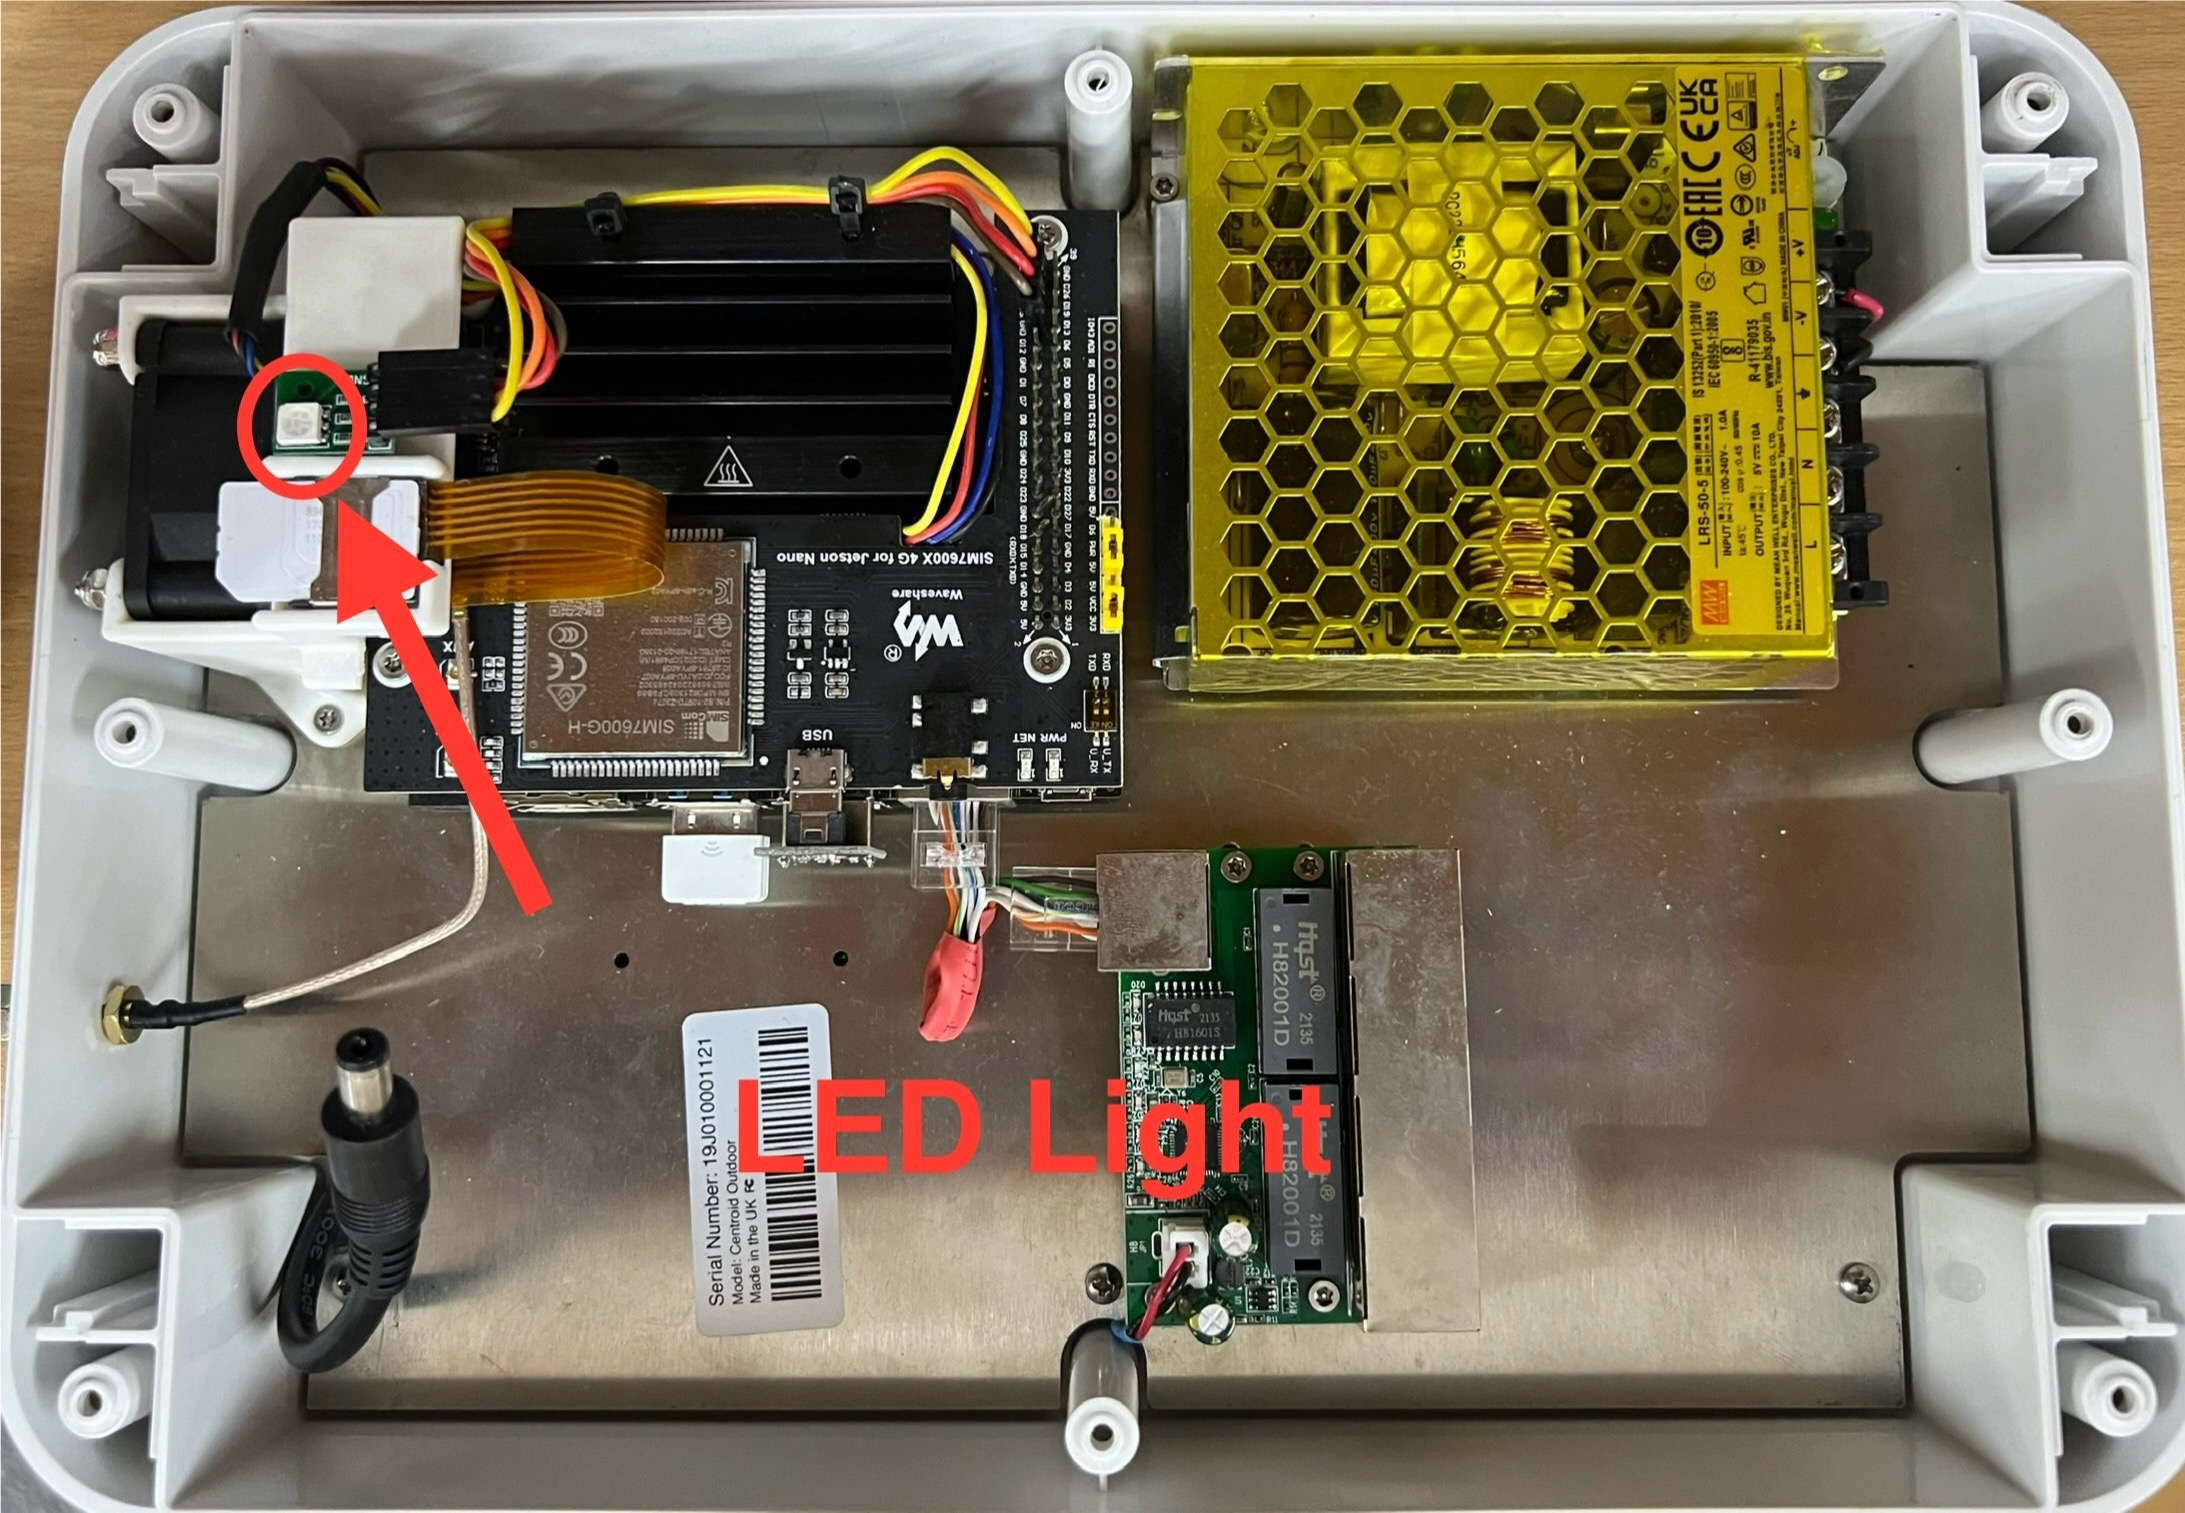
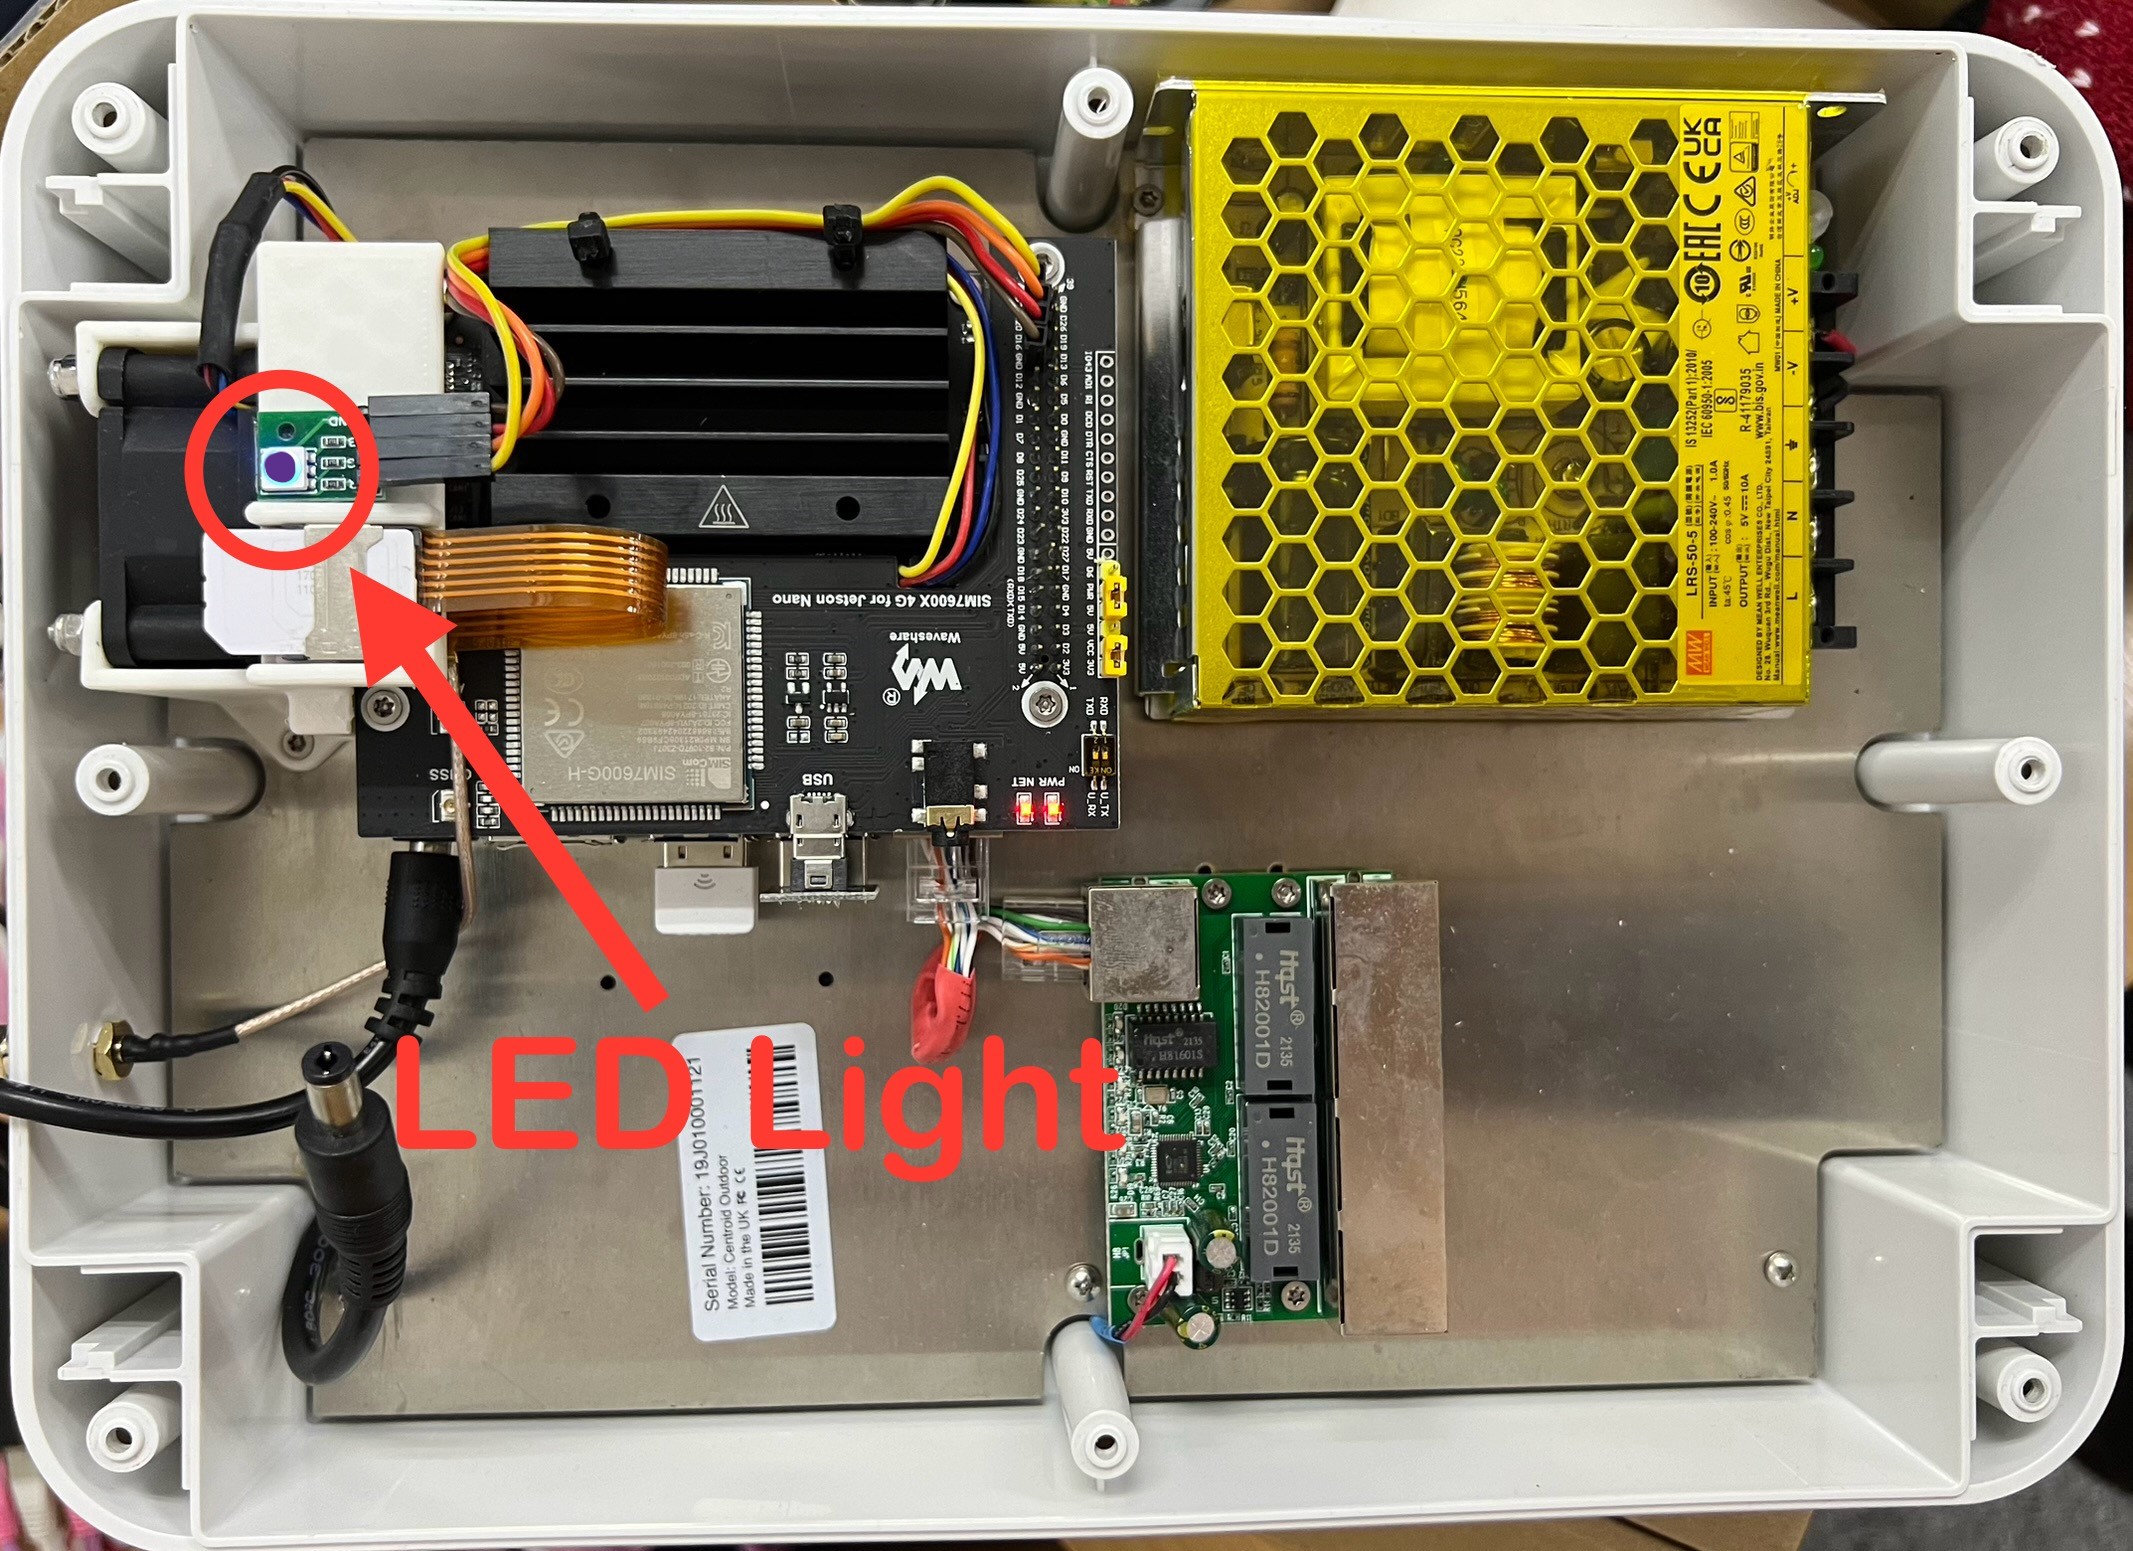
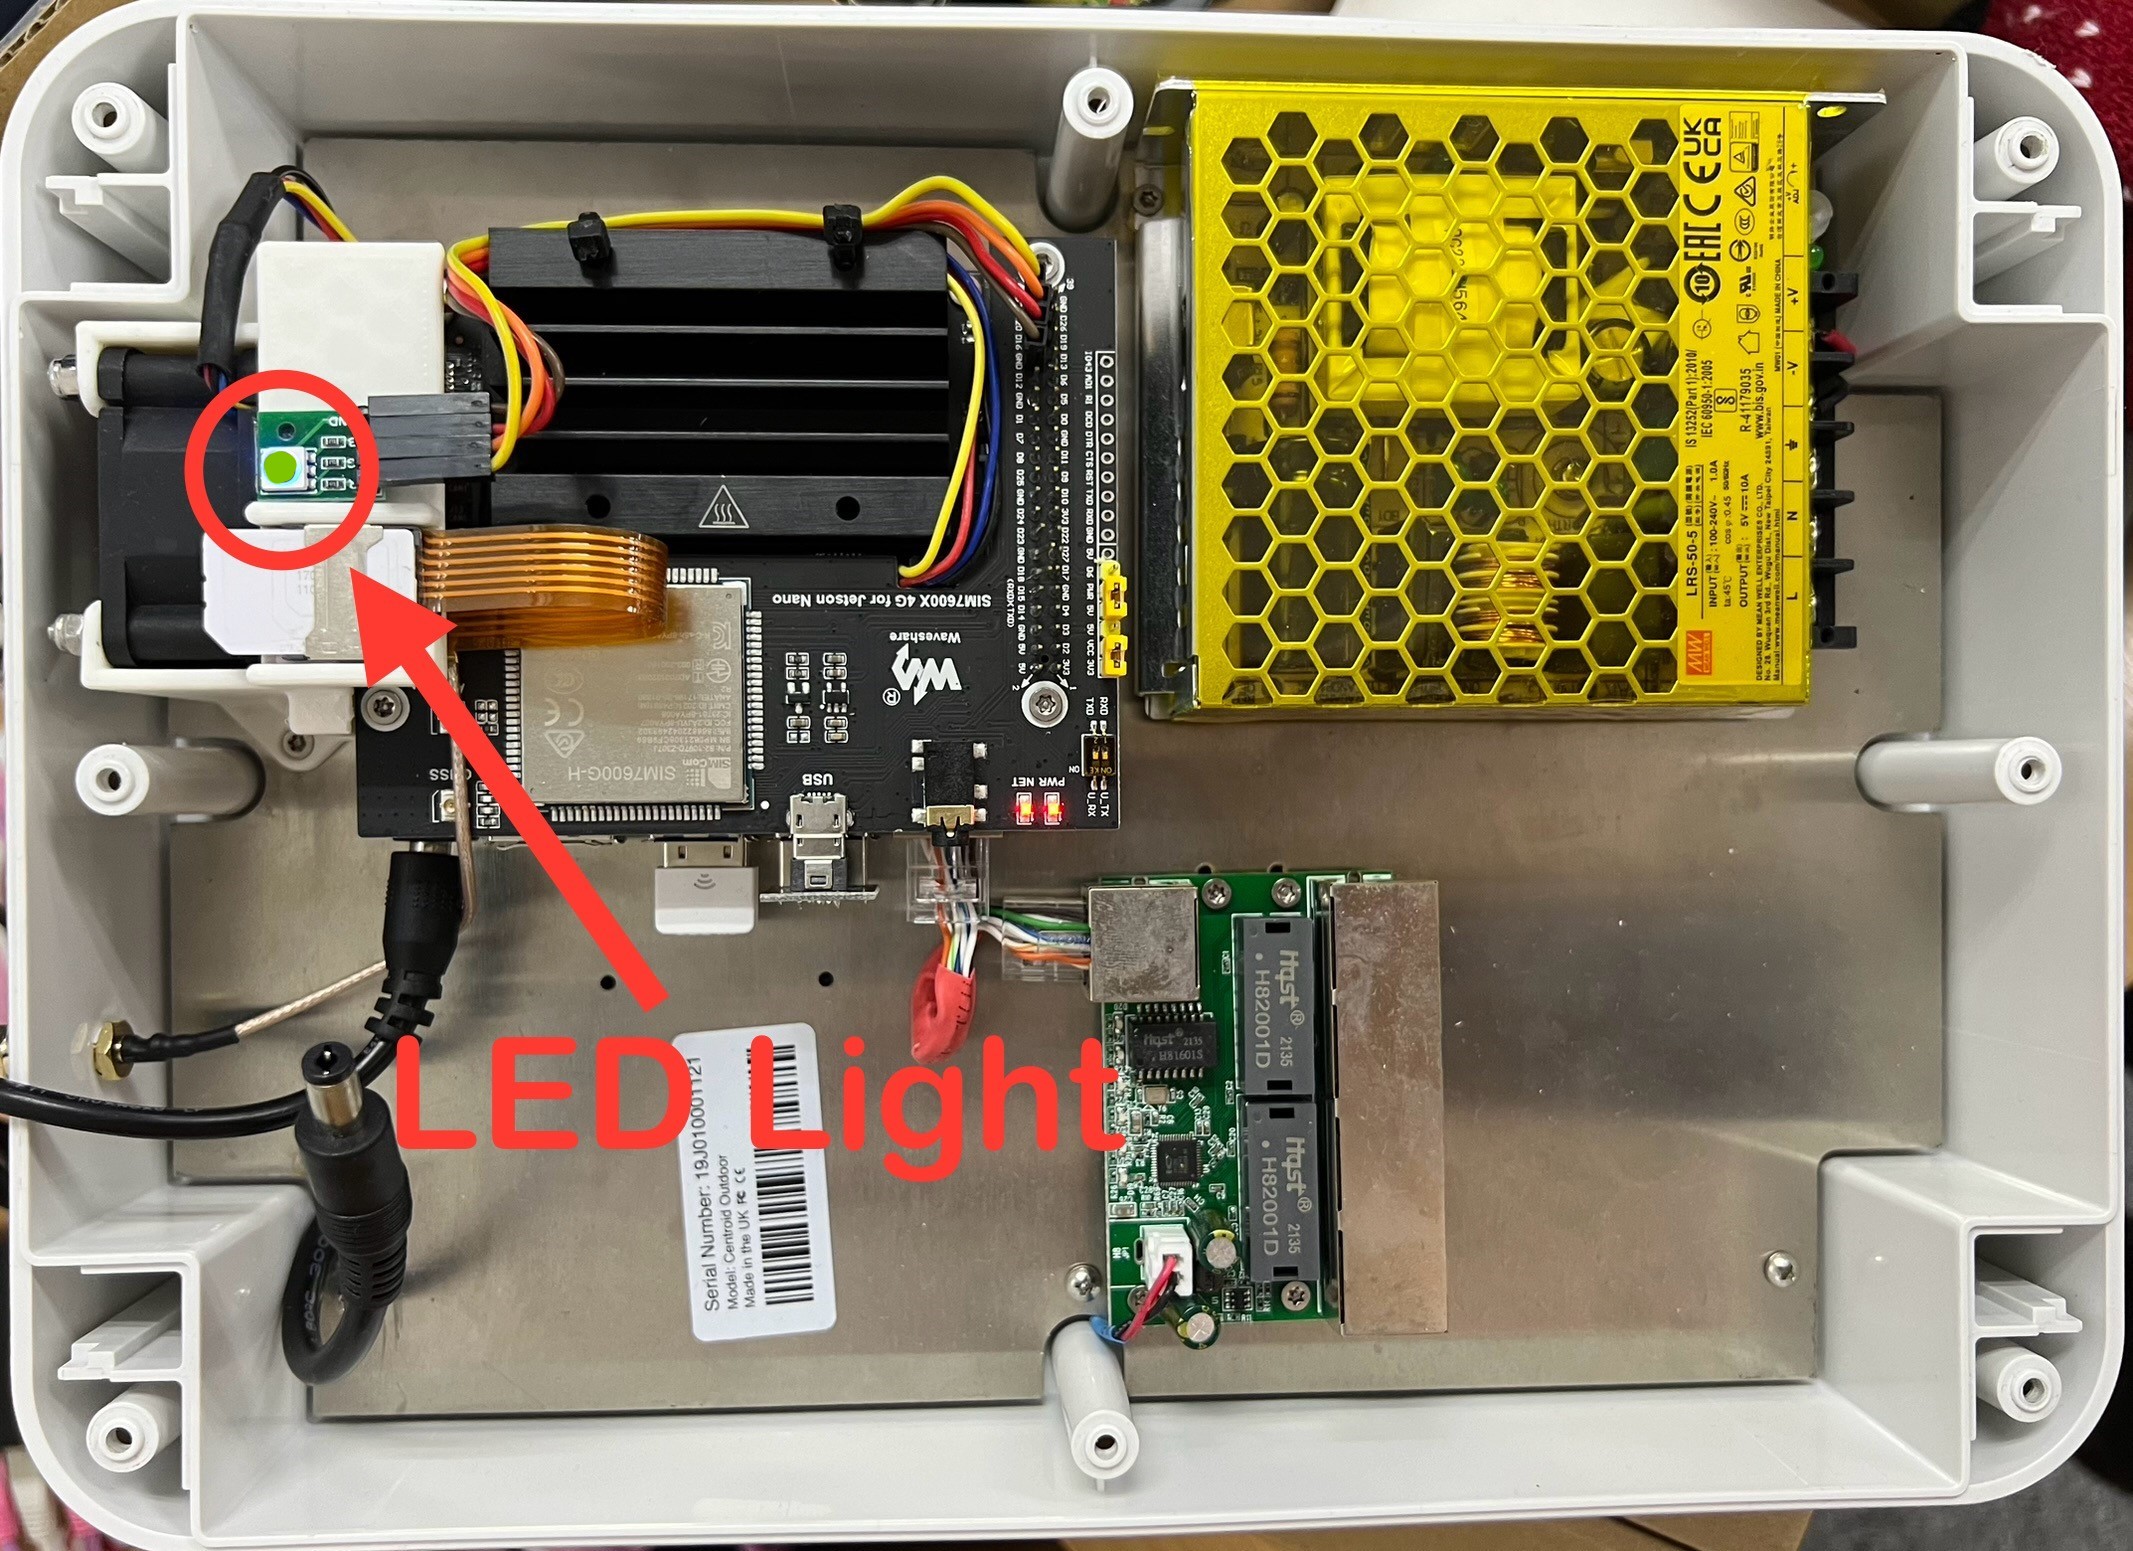
Centroid box LED
|
Total have 3 colours:
|
|
|
1 |
Centroid is not powered up (no blue light on the button) |
|
|
|
2 |
Purple LED |
|
|
|
3 |
Green LED |
|
|

